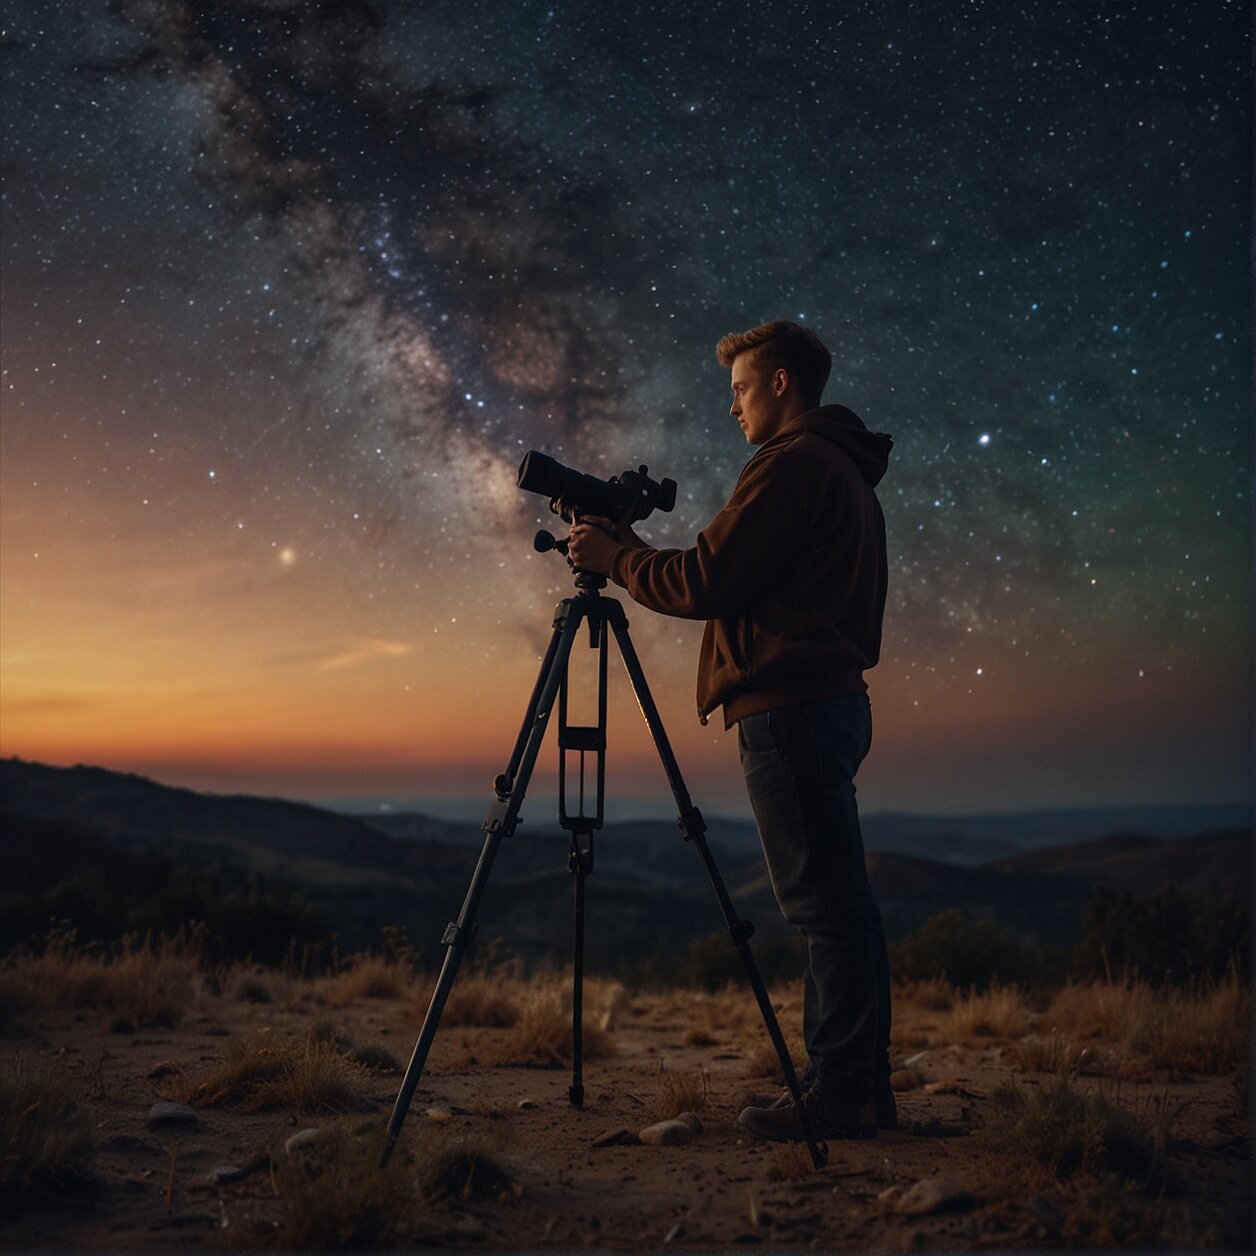
Photographing the Stars: A Beginner’s Guide to Astrophotography
Astrophotography might seem like an intimidating hobby to dive into, but it’s truly not as complex or inaccessible as one might think. By clearly understanding the essentials and using the correct tools, capturing the stunning beauty of the night sky and its celestial bodies is within your reach. This guide aims to shine some light on the basics of astrophotography, decoding the common jargon, and breaking down the process into manageable steps.
- Understanding the Art of Astrophotography: Here, we’ll delve into what makes astrophotography unique.
- Choosing the Right Equipment for Stellar Shots: This covers the must-have tools for your astrophotography journey.
- Setting Up Your Camera for the Stars: This section will brief you on configuring your camera settings to capture the night sky in all its glory.
- Navigating Night Sky: Finding Your Celestial Target: It touches upon how to locate and frame celestial objects in your shot.
- Understanding Exposure Settings for Starlit Skies: This is where you’ll learn about aperture, shutter speed and ISO and their importance in astrophotography.
“Astrophotography is not about having the most expensive equipment; it’s about understanding your equipment and learning to use what you have effectively.”
It’s high time you stopped simply admiring the stars and instead, learned how to capture them. Unleash your inner astronomer and start your astrophotography journey today!
Understanding the Art of Astrophotography
The art of astrophotography extends far beyond just snapping away at the night sky. It’s a detailed process, requiring patience, precision, and a good understanding of the celestial beings you’re trying to capture. This art lies in portraying the majesty of the cosmic setting with as much authenticity as possible, all while delivering a visually stunning representation of the nighttime heavens.
At a glance, astrophotography involves the capturing of celestial events and objects. Stars, planets, the moon, galaxies, these are all under the astrophotographer’s scope. Each of these celestial bodies requires a certain approach for successful imaging. From understanding the necessary equipment to the right set-up, to knowing how to time your shots perfectly, each piece falls together to create stellar astrophotographs.
Consider the importance of understanding your subject matter. Astronomical events such as meteor showers, the passing of a comet, or a solar eclipse are fleeting and require significant preparation to capture. This anticipation and readiness are what makes astrophotography as exciting as it is challenging.
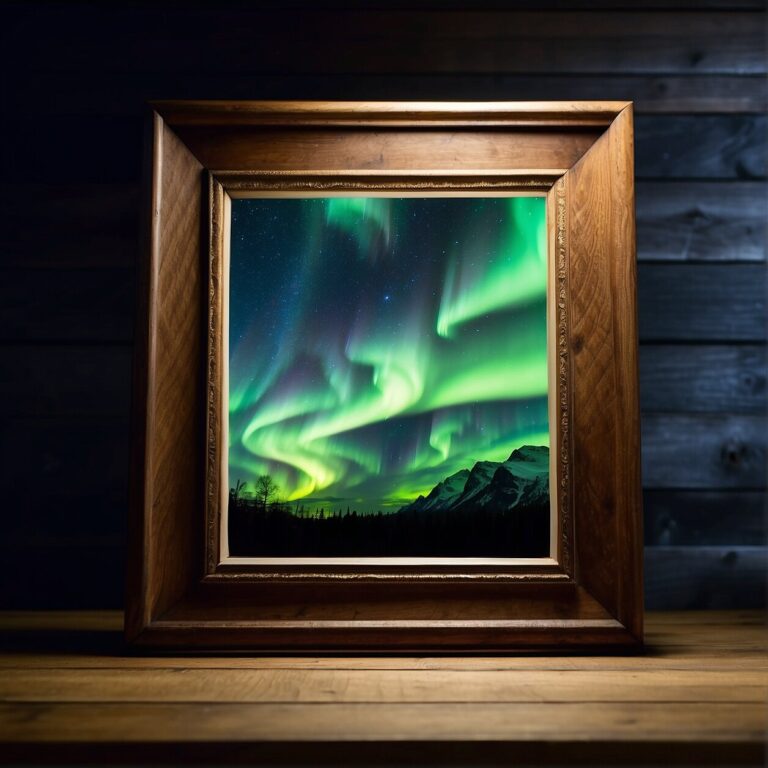
Learning to compose your images is also crucial. Do you want to feature a vast expanse of star-studded skies or hone in on a specific constellation? How does your choice of foreground compliment the sky? How can you use light and shadow to your advantage? The ability to answer these questions will significantly improve your astrophotography skills.
Choosing the Right Equipment for Stellar Shots
Beginning your journey into astrophotography can feel like navigating an alien landscape even before you start shooting the stars. How can you capture something so vast, so complicated onto a 2D image? But don’t despair, it’s simpler than you think. Paramount to your success are the tools you use, so let’s talk about choosing the right equipment.
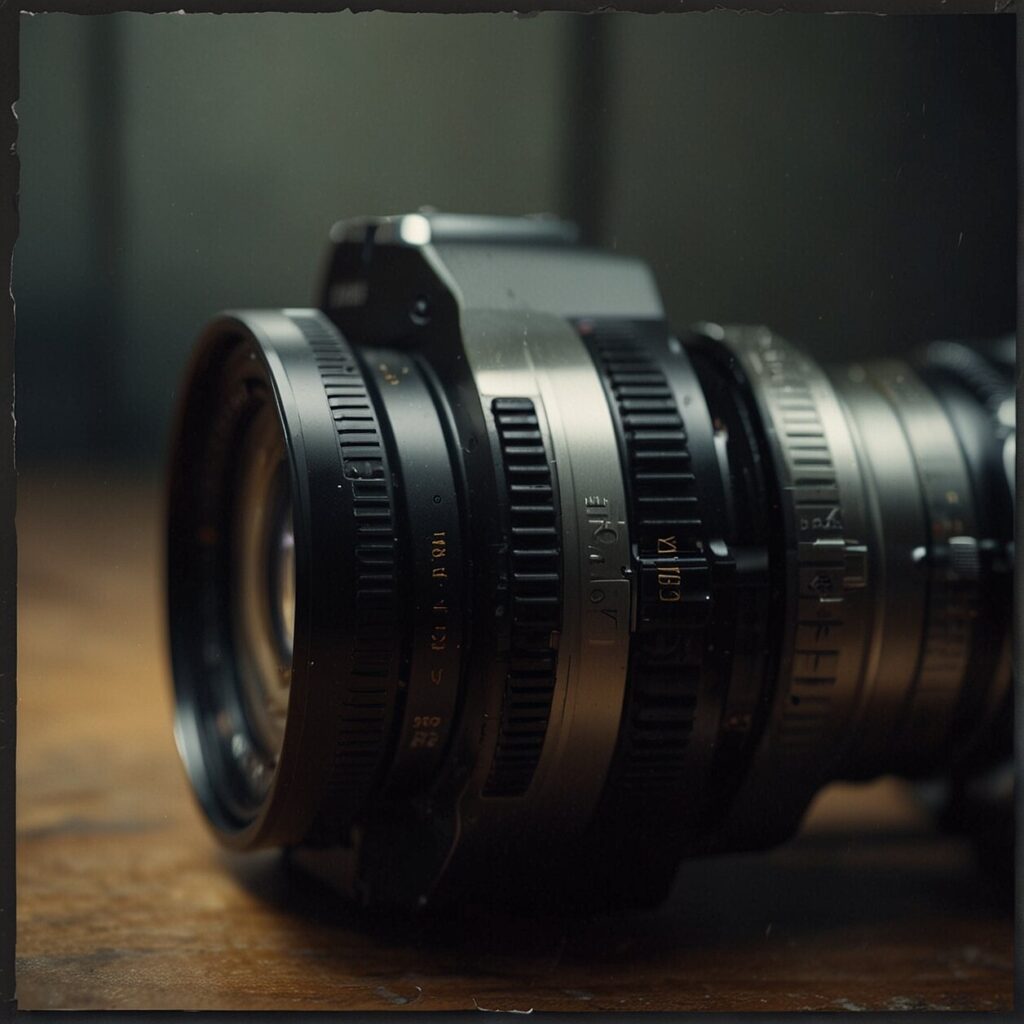
First, your camera. While astrophotography is possible even with a smartphone, it’s highly recommended that you invest in a good Digital SLR or mirrorless camera. These devices are especially flexible, allowing you to play with settings and swap out lenses, which is crucial when photographing the night sky.
Speaking of lenses, your best option is something wide-angle that can capture as much sky as possible. The ‘faster’ the lens (i.e., those with a lower f-number), the better, as they allow more light in. This is crucial because you’ll often be shooting in very dim conditions.
Lastly, a sturdy tripod is essential. When capturing long-exposure shots of the cosmos, even the slightest vibration can blur your image. Tripods provide that all-important stability. Some tripods come with built-in levels, which can be super helpful for getting your shot lined up correctly.
We suggest investing in a star tracker or an equatorial mount if you can. These gadgets move your camera at the same rate the stars are moving due to the earth’s rotation, which greatly reduces blurring.
To wrap it up, your initial equipment checklist should include a DSLR or mirrorless camera, a wide-angle lens, a sturdy tripod, and optionally, a star tracker or equatorial mount. Remember, this is a starting point – as your skills grow, so will your gear!
Setting Up Your Camera for the Stars
If you’ve settled on the perfect gear, the next step is to ensure your camera is correctly set up to capture the ethereal beauty of the cosmos.
Firstly, you’ll want to adjust your camera settings to manual mode. This provides you with complete control over the aperture, shutter speed, and ISO, allowing you to fine-tune each element according to the conditions of the night sky.
Switching off the Autofocus
Autofocus isn’t usually beneficial when shooting the night sky, primarily because it can be challenging for your camera to hone in on distant celestial bodies. Instead, switch to manual focus and rotate the focus ring until the carvings on the lens align with the symbol for infinity (∞), and tweak if needed until you get the sharpest stars.
Raw Image Setting
When shooting the night sky, set your camera to capture Raw images. Raw format stores all image data captured by the sensor, without any in-camera processing. As a result, you’ll have much more flexibility in post-production to bring out the details of the night sky.
Long Exposure Noise Reduction
Finally, consider turning on your camera’s Long Exposure Noise Reduction setting. This feature helps to reduce the ‘noise’ – grainy or speckled distortions – that can often accompany long-exposure photographs. While enabling this feature does double the shooting time, the resulting clarity can be well worth the wait.
With your camera correctly set up, you’re one step closer to capturing the awe and wonder that the night sky holds in abundance. The stage has been set: the stars are your players, and your lens, the all-seeing eye. The next step? Finding and framing your celestial target.

Navigating Night Sky: Finding Your Celestial Target
Understanding the vast expanse of the night sky can often feel like conquering a labyrinth. But fear not, astro-enthusiast! With the right tools and some basic knowledge of celestial navigation, you will soon be on your journey to photographing the cosmos.
Most amateur astrophotographers start their journey by capturing the moon and planets, not just because they are relatively effortless to locate, but also because they offer an excellent introduction to astrophotography. And as your skills improve, with the right equipment, you’ll be able to progress to capturing galaxies or nebulae.
Essential tools to find your celestial targets are star charts and software. They allow you to identify constellations and stars, directing you to your desired celestial object. ‘Star Walk’ and ‘Stellarium’ are examples of such tools you should consider using.
The most crucial factor in finding your celestial subject is understanding that the night sky changes with the seasons. As…Earth spins and orbits around the sun, different constellations come into view. A star chart or app can guide you in determining what’s visible from your location and when.
Additionally, time and patience are your allies. You’ll need to give your eyes time to adjust to the darkness – sometimes up to 30 minutes. And once you’re under the stars, take the time to explore and familiarize yourself with the sky – the more you observe, the more you’ll learn and discover!
Lastly, consider joining local astronomy groups or online forums. The astrophotography community is typically welcoming and a great resource for learning and support. You’ll find that experienced astrophotographers are often more than willing to share tips and advice on the best celestial targets to photograph using different equipment and techniques.
With some preparation and patience, you’ll be on your way to capturing the night sky’s breathtaking beauty. Remember, the journey is as rewarding as the destination.
Understanding Exposure Settings for Starlit Skies
Exposure settings can be thought of as the camera’s eyes, adjusting to allow in more or less light depending on what you need to capture. In astrophotography, managing these settings is both a science and an art, designed to showcase the glory of the night sky in extraordinary detail.
Firstly, it’s important to understand three critical elements that comprise the magic trio of astrophotography settings: ISO, aperture, and shutter speed. Let’s illuminate each of these factors.
Adventures with Aperture
When we speak about aperture, we’re referring to the adjustable opening in your lens that lets light pass through to the camera sensor. In simple terms, imagine it like the pupil of your eye, widening in the dark to allow more light in. Larger apertures are assigned smaller f-numbers; hence, for capturing stars, strive for the smallest f-number possible.
The Intricacies of ISO
ISO measures the sensitivity of your camera’s sensor to light. Higher ISO values increase that sensitivity, allowing for brighter images in low light conditions. However, pushing the ISO too high can result in ‘noise’ or grainy images. You’ll likely want to start with an ISO setting around 800 for astrophotography and experiment upwards from there.
Shutter Speed: Slow and Steady
Finally, the shutter speed refers to the duration your camera sensor is exposed to light. Long exposures are the name of the game when shooting stars, as they allow your sensor ample time to capture the faint light of celestial bodies. However, keep in mind the “500 Rule” to prevent star trails: Divide 500 by your lens’ focal length for the maximum exposure time in seconds to keep your stars as sharp pinpoints.
Understanding and mastering the balance between aperture, ISO, and shutter speed is an invaluable skill worth giving time to. Remember, practice makes perfect, so don’t be afraid to play around with these settings until you find what works best for your unique astrophotography adventure.
Conclusion
At the end of the day, like any other artistic pursuit, astrophotography might seem tricky to get into, but with patience, practice, and persistence, you’ll find your way among the stars. You’re embarking on a journey that will certainly put your creativity and technical skills to the test, but the reward of capturing the beauty of the cosmos is truly unparalleled.
Remember, no two night skies are ever the same. Neither are the photos you will take of them. Don’t be disheartened if your initial shots don’t match up to your expectations. You’re learning to capture light years of cosmic history within the frame of your camera, and that’s no small feat!
Keep experimenting with your camera settings and angles. The steady climb up the learning curve is a part of your astrophotography journey. Your hard work will one day culminate in a star-studded portfolio that narrates tales from distant galaxies, constellations, and nebulas.
Lastly, remember to take a moment to just look up and appreciate the vastness of space. Astrophotography isn’t just about capturing amazing photos of the night sky—it’s also about developing a deeper connection with the universe. Keep your eyes on the skies, your curiosity piqued, and your camera ready—for the cosmos is your canvas, and you, the artist.