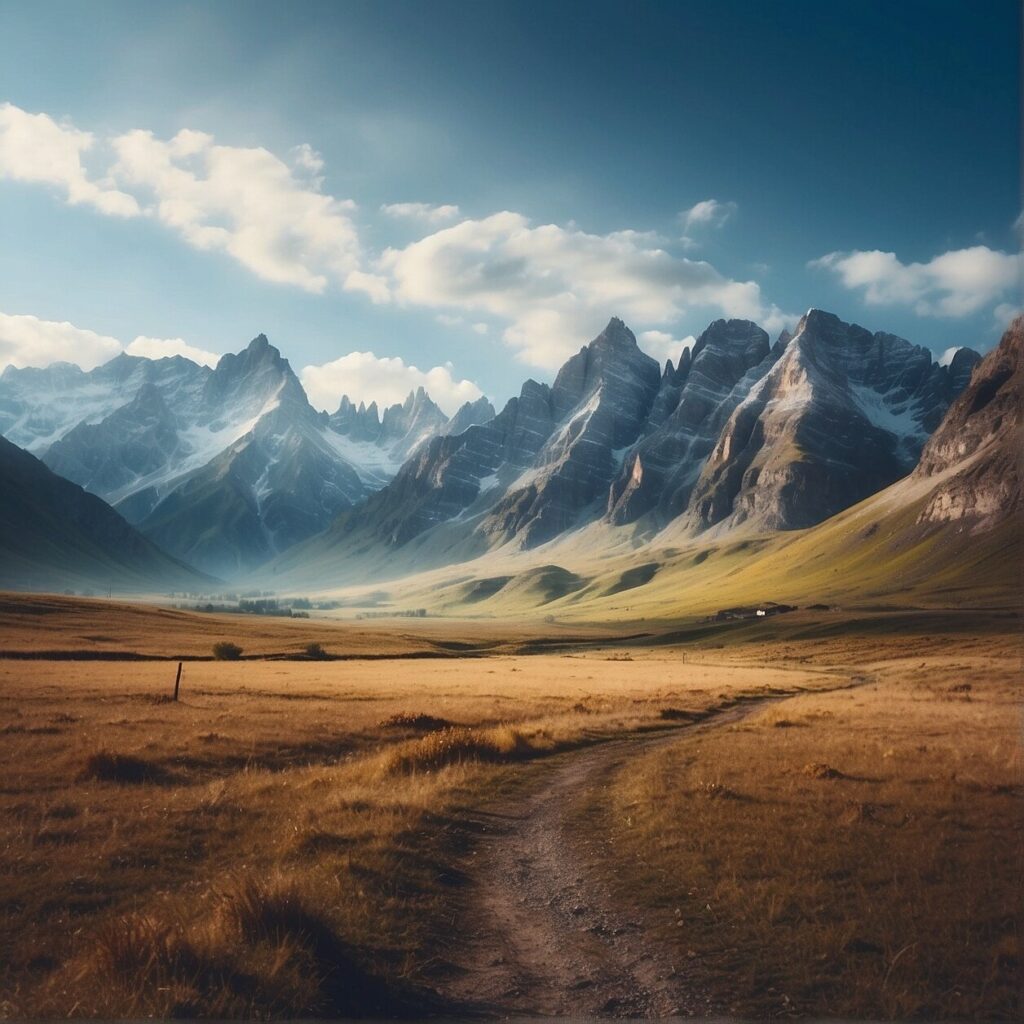
Using Your Phone Camera to its Full Potential: Mobile Photography for Travelers
You’re about to embark on a new adventure, ready to capture a myriad of awe-inspiring moments and scenery using a tool you already possess: your smartphone. Far removed from the chunky, cumbersome gear of professional photographers, your phone snugly fits into your pocket, ready at a moment’s notice to freeze time. This complete guide will empower you to unlock your device’s full potential, transforming it into an incredibly efficient, easy-to-use tool for stunning travel photography.
With the vast advancements in smartphone camera technology, imbuing your travel photos with an expert touch has never been more accessible. From mastering the art of utilizing unique angles to optimizing settings for the perfect shot, you’re about to discover how to make the most of your phone and create lasting photographic memories of your travel escapades.
“The best camera is the one that’s with you. Ensure your travel photography reflects the magic of your journey by harnessing the power of your smartphone camera.” -Anonymous
Join us on this enlightening journey as we explore how to use your smartphone to capture high-quality images that encapsulate the joy and wonder of travel. Ready? Let’s dive in!
Unlocking the Power of Your Smartphone Camera
Your smartphone camera holds enormous potential, much of which often goes untapped. To truly utilize this feature at its best, you need to look beyond simple point-and-click. Mindfully considering aspects like framing, composition, lighting and perspective can set your travel photos apart.
It may surprise you, but understanding the intricacies of your smartphone camera is a key starting point. Do you know the difference between the HDR and Portrait mode? Are you aware of the panorama feature and when to use it? How about grid lines or autofocus? The more familiar you are with your camera settings and capabilities, the better you can exploit them for spectacular travel shots.
Approach each scene carefully. Before pressing the shoot button, visualize how you want your image to look. Harness the power of the rule of thirds—a guiding principle in photography. Dividing your frame into nine squares allows you to create an interesting, symmetrical photo composition. You can enable the grid line feature on your phone to aid you in this.
The beauty of smartphone cameras is the instant accessibility. You can swiftly capture unexpected, fleeting moments. Yet, the real magic lies in slowing down a tad bit. Spend time contemplating the scene and leverage the numerous settings and tools to compose a beautiful photograph.
Remember, the ultimate goal is to tell a visual story of your travels. This goes beyond just capturing aesthetic imagery. It involves carefully considering how the elements in your scene combine to narrate an intriguing story, create a particular mood, or evoke a certain emotion. Travel photography done right, even with a smartphone, has the capacity to transport you—and the viewer—right back to the location!
Choosing the Right Phone Camera Settings for Travel Photos
Once you have unlocked the potential of your smartphone camera, the next step is to choose the optimal settings for your travel photos. The task may initially seem daunting, but fear not, we’ve got you covered.
Start with the resolution settings. A higher resolution equates to more details and a sharper image. However, this also means more storage space will be required. If you have ample storage or a cloud-based backup system, don’t hesitate to set your resolution at the highest setting.
Your next focus should be on the HDR (High Dynamic Range) mode. HDR intelligently blends photos of different brightness to give you the perfect light balance. Activating your HDR will allow you to capture stunning landscape photos with beautiful sky tones and detailed foregrounds even under harsh sunlight.
Another crucial aspect to emphasize is the focus and exposure. Most smartphones allow users to manually regulate these features by simply tapping on the desired object or area on the screen. This helps to ensure that the main subject of your photo stays sharp and adequately lit.
The built-in grid feature is another powerful tool that can assist you in improving the composition of your photos. By enabling the grid, you create ‘thirds’ on your screen, which lends itself to the Rule of Thirds – a well-known photography principle that results in more appealing and balanced photos.
Finally, explore the portrait mode if your camera has one. This is a great setting for capturing detailed and focused portraits with blurred backgrounds – a professional aesthetic made easy!
Remember the saying, “the best camera is the one you have with you”? Well, that couldn’t ring more true. With the above advice, you’ll be well on your way to transforming your travel photos from simple snapshots to eye-catching memories.
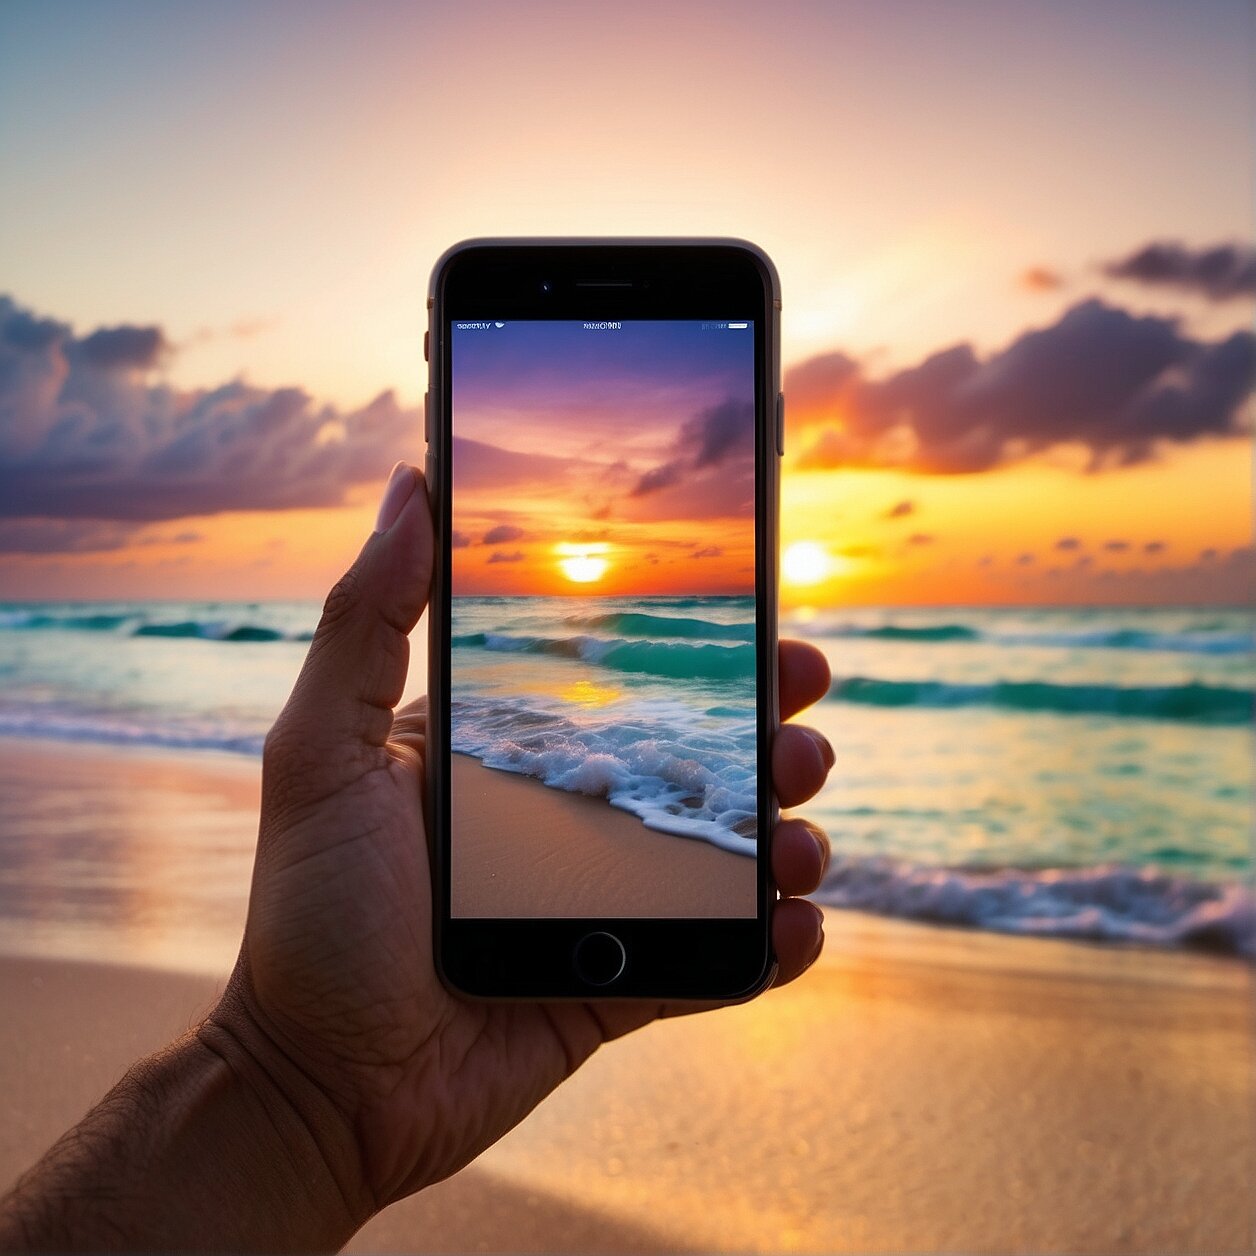
Using Lighting to Your Advantage: Best Times to Snap
Do you know what magic golden hour can do to your shots? Well, this period, which extends from about an hour after sunrise to an hour before sunset, provides natural lighting that’s perfect for capturing enchanting photographs. This magical time offers softer hues and long shadows, bringing a particular depth and warmth to your travel images.
Conversely, the blue hour— which happens just before sunrise and just after sunset— encompasses exceptional lighting conditions that shower your photography in vibrant, bluish tones. During this time, the sky, painted with distinctive shades of blue, can add a mystical elegance to your travel photographs.
But remember, understanding the light isn’t only about the time of day. It’s also about the direction and quality. Front lighting, back lighting, and side lighting, each can create entirely different effects. Front-lighting flattens the image, reducing the amount of shadows. Back-lighting creates a silhouette effect, while sidelighting highlights the texture and depth of a subject.
Keep in mind; bad weather isn’t necessarily your enemy. Overcast days can often offer the best conditions for shooting as the clouds act as a natural softbox, evenly diffusing the sunlight and eliminating harsh shadows.
Remember, it’s about learning to dance with the light. With your smartphone camera in hand, play around with exposure and white balance settings to refine the quality, direction, and color temperature of the light. The objective is to exploit the available light – figuring out how to work with it, and not against it.
Having a strong understanding of light and its characteristics will significantly enhance the impact of your photos, and, significantly, it can transform mundane shots into visual masterpieces.
Playing with Perspective: Adding Unique Angles to Your Photos
Photography is a craft of storytelling, and by adding unique angles in your travel photos, you can tell a story more effectively. Switching perspectives can drastically change the way your photos look, making them more interesting and engaging. Don’t be limited by always taking shots at eye level – there’s a whole world of angles waiting to be explored!.
First, try the bird’s eye view perspective. This involves shooting from a high angle looking down. It’s a great perspective for emphasizing patterns, colors, or the scale of a location. This perspective can be achieved easily if you’re standing at a vantage point over a scenic landscape or cityscape. A trick is to use drone cameras if you find a spot that’s perfect for an aerial shot. With smartphones getting more advanced, drone photography has become more accessible to travellers.
The worm’s eye view is another fun perspective to play with. This means shooting upwards from a low angle. It’s a great way to make ordinary scenes look dramatic and imposing. This works particularly well with towering structures like trees, buildings or statues, and it’s a way to showcase their overpowering scale.
One more method to capture engaging travel photos is by using a tilted, or Dutch angle. You tilt your camera so that the horizon isn’t level. This creates a sense of disorientation, and is often used in cinema for tension-filled scenes. For travel photography, it gives a refreshing and exciting touch to otherwise common scenes.
The key is to continually experiment with different perspectives to discover what works best for each scene. It’s all about capturing the scene in a way that’s unique and visually exciting. By playing with perspectives, your smartphone travel pictures will stand out and serve as a stunning visual diary of your adventures.

Keeping Steady: Minimizing Blur in Travel Photos
Keeping your hand steady is key to avoiding blurry shots, particularly in low light situations where your smartphone camera might automatically choose a slower shutter speed to capture more light. If your hand moves during this slower shutter, it can lead to a blurred photograph. So, how can you steady your shot when on the move?
Draw Support: If you don’t have a tripod, use whatever’s available to support your smartphone while shooting. Leaning on a wall, resting your arms on a table, or even propping your phone against a rock or a tree can help to steady it and minimize shake. These natural supports can act as makeshift tripods when you most need them.
Use Both Hands: If you hold your phone with one hand, any tiny movements can easily translate into camera shake. Using both hands to hold your smartphone can provide a more stable base for your shots. It’s best to hold the phone with both hands placed on either side of the phone, and your elbows tucked into your body for extra stability.
Take Advantage of Burst Mode: Most smartphones have a burst mode, which takes several shots in quick succession. Even if your hands aren’t perfectly steady, one of the shots taken in burst mode is likely to be sharp. This is particularly useful for action shots or unpredictable travel moments where you don’t have time to set up properly.
Keep in mind, mastering steady shots may require some practice, but with time, it will become second nature. So, make sure to practice your technique even when not traveling to ensure you get the best shots when it matters most.
FAQ’S
After diving deep into exploring the dynamic world of smartphone travel photography in the previous sections, you’re likely brimming with questions and seeking more advice. Recognizing your thirst for knowledge, we’ve curated this FAQ section to address some of the most commonly asked queries around mobile travel photography. From enhancing your photos with apps and accessories, to editing your captures for improved quality, let’s delve into these FAQs to get you closer to achieving your ultimate travel photo gallery.
What are the best apps for improving mobile photography?
If you’re looking to transform your travel photos into professional-quality snapshots, several apps can assist you. First, Snapseed deserves mention. Packed with sophisticated editing tools, Snapseed can help you fine-tune your images and add a professional polish to them. Highlights include the selective adjust tool – allowing you to edit specific parts of your photo – and the vast array of filters.
Secondly, VSCO is a go-to favorite for mobile photographers. This app offers classic, subtle filters that bring out the colors in your photos perfectly. VSCO also has advanced tools like split toning and HSL adjustments. It doubles as a photography community where you can share your travel photos and get inspired by fellow VSCO users.
Adobe Lightroom CC is another excellent choice for mobile photography. This application brings the power of Adobe’s famous desktop software to your smartphone, including powerful editing tools and the ability to shoot in RAW format. The free version offers plenty in the way of editing, but the full functionality comes to life with an Adobe Creative Cloud subscription.
Instagram, while primarily a social media platform, has an impressive suite of editing tools and filters. The app’s broad user base offers inspiration from photographers around the globe. The platform also offers the opportunity to share your travel photos and engage with a vast community of photography enthusiasts.
Whether you’re a budding mobile photographer or a seasoned traveler wanting to upgrade your digital souvenirs, these apps offer a host of hi-tech tools to sharpen your skills and enhance your travel photos.
What are the best phone camera accessories for travel photography?
Many impressive photography tools can dramatically enhance the capabilities of your smartphone camera, making your travel photographs even more stunning. Let’s take a closer look at a few of the best phone camera accessories for travel photography that you should consider investing in.
Tripods and Selfie Sticks
A tripod or selfie stick ensures stability while capturing images, helping you avoid blurry pictures. Some tripods even come with a Bluetooth remote that you can use to click pictures from a distance. Selfie sticks, meanwhile, are great for capturing shots with a wider field of view.
Lens Kits
Portable and versatile, lens kits can be clipped onto your smartphone, offering features like macro or wide-angled views. A wide-angle or fisheye lens can help capture broader landscapes, while macro lenses excel at detailed close-up shots.
Portable Lighting Equipments
Although natural light often leads to the best photos, sometimes mother nature needs a bit of help. Portable lighting equipment like pocket-sized LED light panels can easily be attached to your phone, supplying additional light where needed.
External Microphones
If you are into recording videos along with capturing images, an external microphone is an absolute must-have. Designed to enhance the audio quality of your videos, they can make a vast difference in your overall video quality.
Power Banks
A power bank ensures you never run out of battery while on the go. These are handy, easily chargeable devices that can save you from the inconvenience of your phone dying in the middle of a perfect photo opportunity.
Remember, the best camera accessories largely depend on your personal photography style and the types of photos you wish to capture. So, gather your kit and start capturing the world through your lens!
How can I edit my travel photos on my phone for better quality?
Editing your travel photos right on your phone doesn’t have to be a challenging process. There are numerous mobile applications that can add the finishing touch to your memories caught on camera. Both iOS and Android have inbuilt editing tools to help you adjust brightness, contrast, saturation, and more. Here’s a brief guide on how to do it.
Firstly, always start by making initial adjustments. This includes cropping and leveling your photos to ensure that your horizons are straight, and no unnecessary elements clutter the frame. You may also want to correct distortions—if your phone hasn’t already done so—especially if you’re shooting architecture or lines that need to be parallel.
Once you’re happy with the general framing of your shot, you can proceed to adjust your brightness and contrast levels. These settings help you control how light or dark your image is and how much the different colors in your image stand apart from one another, respectively. If a photo is looking a little too dark or washed out, play with the brightness and contrast until the image looks natural to your eye.
The color of your images can also be enhanced in mobile editing tools. The saturation option makes the colors more vibrant in your image. While the hue option can shift the colors in your image on the entire color spectrum. Interpretation of colors in an image can dramatically change with each adjustment, so play around until you find the most pleasing result.
Finally, consider applying filters for different moods. Most inbuilt editors have filters that apply the above edits in predefined ways to create different looks. While they can be fun, they should be used judiciously — a badly applied filter can ruin an otherwise nice shot.
Don’t rush through the editing process—take your time to examine each photo and decide what adjustments or enhancements it needs. With a little practice, you’ll be able to improve the overall quality of your travel photography right from your smartphone. Happy editing!
What are some creative mobile photography ideas for travelers?
The world of travel photography is vast and dynamic, especially when it comes to leveraging the capabilities of your smartphone camera. Here are several ideas to add that unique flair to your travel photos:
Embrace the Rule of Thirds
The Rule of Thirds is a fundamental technique in photography that smartphones can implement easily. Simply divide your frame into nine equal rectangles, like playing tic-tac-toe. Then, place the most critical elements of your scene along those lines or at the intersections. This technique can add a refreshing sense of balance and complexity to your images.
Look For Reflections
Reflections can occur anywhere—windows, bodies of water, or mirrors. They can add a fascinating dimension to your image by multiplying the elements or creating an intriguing symmetry. Take your time, experiment with different perspectives, and be sure to maximize your subject’s reflection for a more effective result.
Try Panorama for Wide Shots
At times, one shot just doesn’t suffice to capture the full breadth of an awe-inspiring landscape. The panorama function in your smartphone allows you to stitch together multiple shots into one wide angle image. Just be sure to move the camera slowly and steadily to ensure a smooth final result.
Experiment with Long Exposure Shots
Want to capture the smooth trail of a waterfall or the serene flow of a river? Long exposure might be the answer. Most smartphone cameras have a ‘Pro’ or ‘Manual’ mode that allows you to control the shutter speed. Remember, you’ll need a steady hand (or even better, a tripod) to avoid blur in your image.
These are just a handful of creative mobile photography ideas to get your creativity flowing. Remember, the most important thing is to have fun and experiment. You never know what amazing shots are waiting just around the corner!
What are the advantages of using a smartphone camera for travel photography?
There are numerous advantages to using a smartphone camera for capturing your travel memories. Here, we delve into a few of the crucial ones.
Portability and Convenience: Smartphones are compact and lightweight, making them easy to carry wherever you go. There’s no need to worry about lugging around a bulky DSLR or mirrorless camera. A smartphone fits neatly into your pocket or bag, ready to capture the perfect shot in a moment’s notice.
Easy Sharing and Backup: With instant access to the internet, you can easily share your travel photos with friends and family in real-time. Social media platforms like Instagram, Facebook, and Pinterest can be updated on the go. Additionally, data backup options mean that your precious memories are safe and secure, even if something happens to your phone.
Massive Technological Advancements: Smartphone cameras have come a long way. Many modern phones boast multi-lens systems, optical zoom capabilities, and advanced sensors producing images rivaling those taken by professional cameras. Features like Night Mode and HDR processing allow you to capture high-quality photos regardless of the lighting conditions.
Multiple Editing Options: There are countless photo editing apps available to enhance and manipulate your travel shots right on your device. From adjusting exposure and saturation to adding filters or merging multiple photos, the possibilities are virtually limitless.
When you take into account these advantages, it’s easy to see why smartphone cameras have become the go-to choice for many travel enthusiasts. Crafted with user-friendly interfaces and innovative features, they make capturing and sharing your journey more accessible than ever.