Celestial Photography: Equipment Essentials and Techniques for Capturing the Night Sky
Welcome seekers of the stars! In your hands (or before your eyes on the screen), lies a comprehensive guide for your initiation into the mesmerizing world of astrophotography. Whether you’re an amateur photographer with a love for the night sky or someone who’s merely intrigued by the stars’ celestial allure, this guide is for you. Astounding visuals of galaxies far, far away are not exclusive to powerful NASA telescopes. You too can capture a slice of the cosmos and we’re here to show you how in this beginner’s guide to astrophotography.
- Understand the fundamental equipment you need
- Learn to choose your perfect stargazing spot
- Master the art of capturing our galaxy – the Milky Way
- Discover the importance of a tripod in night sky photography
- and finally, get answers to the most commonly asked questions in astrophotography.
“Look at the stars, Look how they shine for you, And everything you do, Yeah, they were all yellow.”
– Coldplay, Yellow
Just like Coldplay’s fascination with the stars in the song “Yellow”, let’s indulge in our passion or curiosity for the cosmos. It’s time to let the stars shine for you. Turn the page or scroll down as we embark on this exciting new journey into the night sky!
The Magic of Celestial Photography: A Beginner’s Overview
Embarking on an adventure into celestial photography is like opening a door to a whole new world. It allows us to capture both the vast expanse of the cosmos and the wonder it stirs within us. It can seem intimidating at first – after all, this is nature’s grandest tableau we’re talking about! But with the right information at hand, it is a pursuit within reach for passionate beginners.
The fundamentals of astrophotography lie championing both science and art’s nuances. Science, because you’re working with factors like distance, light (or lack thereof), and unmistakable celestial patterns. Art, because you aim to convey an emotional message through the visuals of the night sky. This balance is truly where the magic unfolds.
Just like learning to play a new musical instrument or picking up a new sport, getting proficient in astrophotography takes practice, patience, and time. Expect a lot of trial and error, which paradoxically, is part of the excitement. It is normal for your first few images not to turn out perfect. Don’t feel disheartened. Every failed shot is a step towards mastering your technique.
While astrophotography heavily relies on technical skills and a bit of good gear, it also about passion, creativity, and curiosity. In fact, some of the best astrophotographs were captured not necessarily using high-end gear, but by photographers who spent plenty of time studying, connecting with, and mastering their understanding of the night sky.
Ready to embark on this exciting journey and unlock the secrets of the heavens above? This guide is designed to get you started on your astrophotography quest, featuring essential gear, and tips for capturing those remarkable star-studded moments that make us gasp with astonishment at the sheer beauty of the universe. So, get ready, stargazers, your journey to the stars is about to start.
Selecting Your Stargazing Spot: Ideal Locations for Night Sky Photography
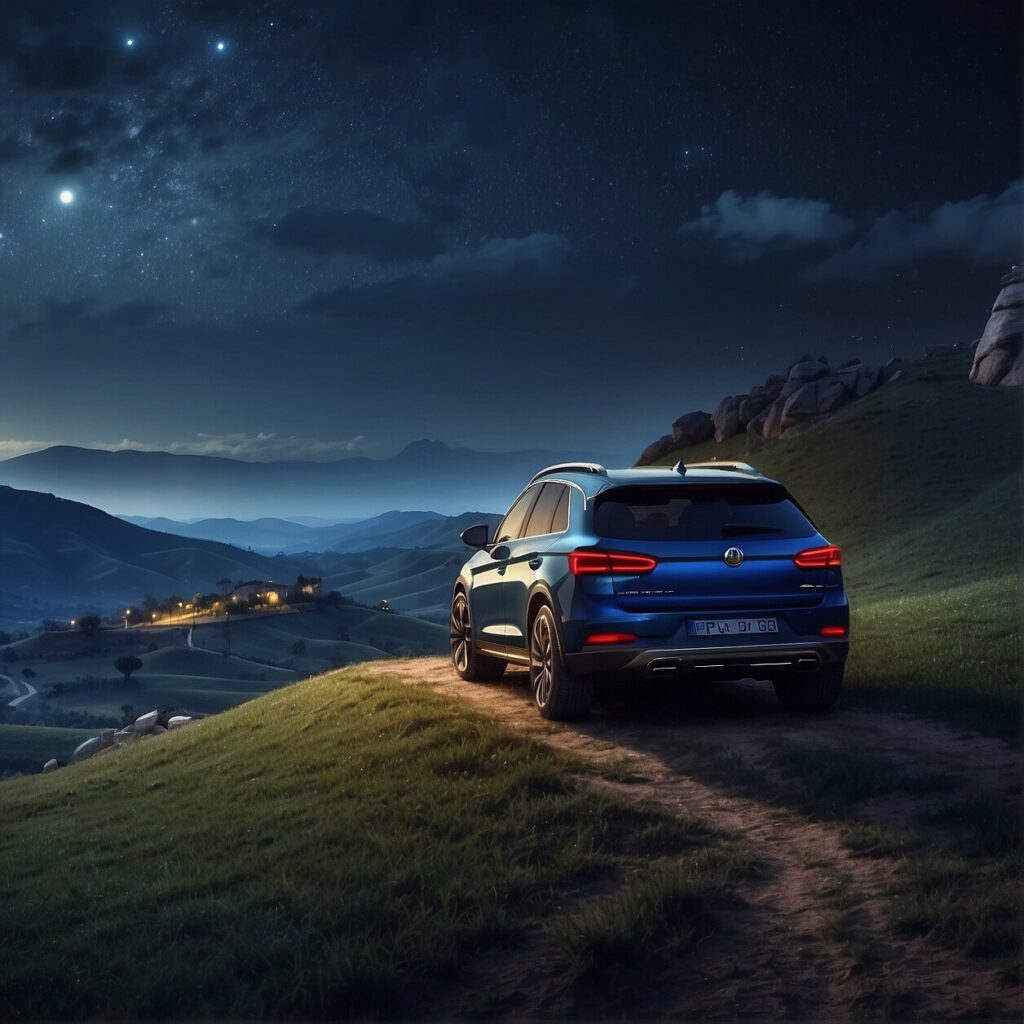
Imagine that you’re at your chosen location, under the celestial dome, ready to capture the stars. But the night sky is awash with its own cacophony of light that can sometimes obscure the cosmic beauty we aim to capture. This is why selecting the ideal stargazing spot is so important for night sky photography. Let’s dive into a few tips to help you find just the right spot to set up your camera and tripod.
Dark Skies Matter: One of the first things you’ll want to consider for astrophotography is getting as far away from light pollution as possible. A dark sky site, nestled far away from city lights, might take a bit of a drive, but the awe-inspiring photography you’ll achieve is well worth the trip. You can even use resources such as the International Dark-Sky Association’s (IDA) map of certified dark sky parks to help plan your outing.
Clear Skies Are Essential: It’s crucial to remember that our stars are visible every night where clear and dark skies exist. Therefore, you should consider the local weather pattern and the time of year. The less cloudy the skies are, the clearer images you’ll capture. Also remember that constellations visible in the sky change depending on the season. Take note of what will be in the sky during your planned outings.
Prepare During Daylight: Before venturing out under cover of darkness, make a dry run of your location and ideal compositions during the day. This way, you’ll have a better understanding of your surroundings, making it easier to set up your equipment in low light conditions. This step will also give you the chance to scout out the best vantage points for your celestial snapshots.
Remember, no two night skies are the same, and there are endless ways to capture their beauty. As much as technical skills and great gear matter, so does your location. So pack up your gear, hit the road, and may your journey to perfect night sky photography be as awe-inspiring as the stars above.
Chasing the Milky Way: Tips for Capturing Our Galaxy
When capturing the Milky Way, one of the most breathtaking sights housing billions of stars, several factors should be taken into account. Luck and meticulous planning both play a part in capturing this magnificent spectacle, but priming your skills is also crucial.
The first step addresses the timing and conditions. The perfect period to photograph the Milky Way is during a new moon or when the moon is not visible in the sky. Light pollution is a notorious spoiler in astrophotography, and the moon’s brightness can obscure the Milky Way’s delicate light. Therefore, plan your shoot around the lunar calendar.
Next, focusing in the dark poses a significant challenge. The trick here is to set your lens to infinity, turn off autofocus, and manually adjust until stars appear sharp in your viewfinder or on your live view display. It might take several attempts and a keen eye, but perfect focus is an absolute necessity for spellbinding celestial photos.
Finally, consider the essential settings on your camera. Set your ISO high, between 1600 and 3200 typically. This amplifies the camera sensor’s sensitivity to light. Choose the widest aperture your lens allows (ideally around f/2.8) to let in as much light as possible. Furthermore, maintain a slow shutter speed, generally 20-30 seconds, to catch more light without causing star trails.
Remember, astrophotography isn’t exclusively the dominion of perfection, but that of patience, practice, and passion. Each endeavor enriches you with more experience, taking you a step further on your journey towards capturing the stellar ballet that scintillates above us each night.
Choosing the Right Equipment for Stellar Shots: A Comprehensive Guide
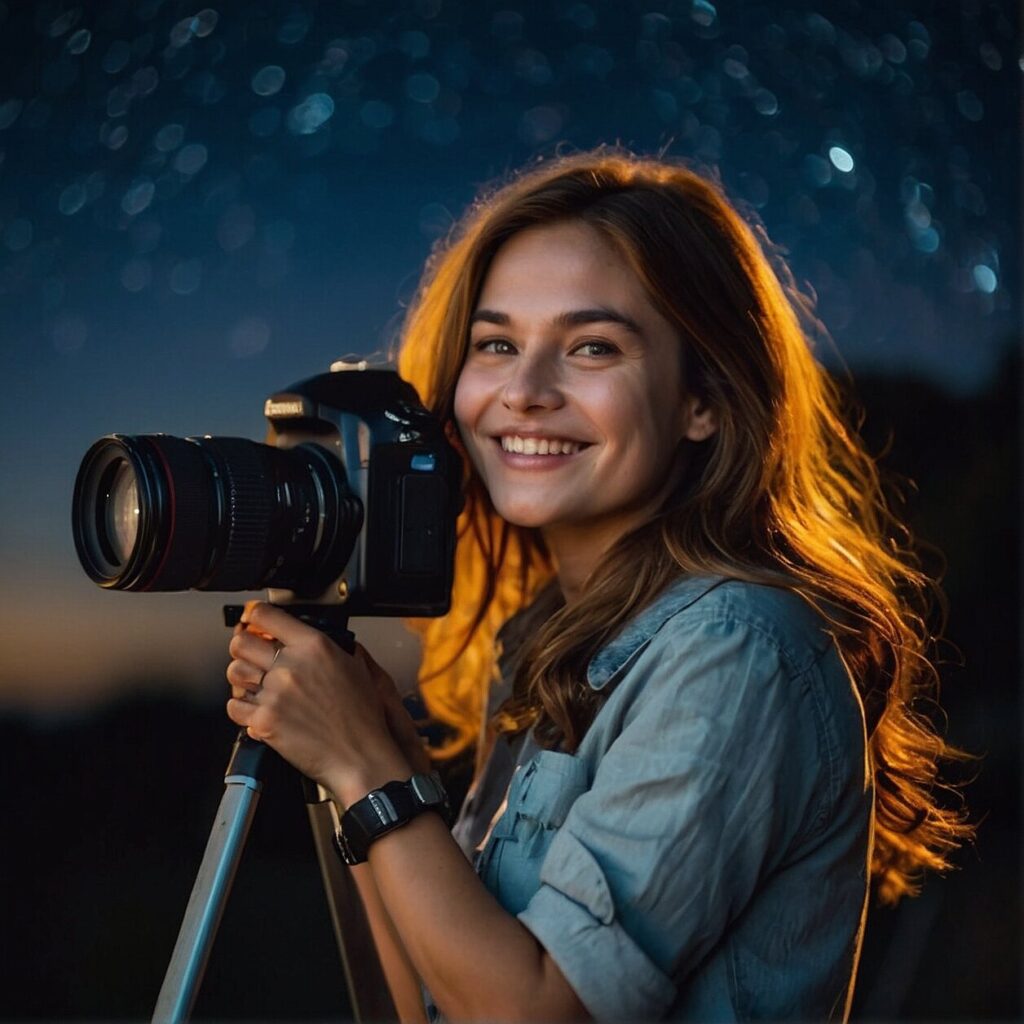
Selecting the ideal equipment for your astrophotography mission is pivotal in achieving remarkable results. Let’s dive into the nuances of the gear you’d need to unravel the vastness of the cosmos through your lens.
Camera Selection: Unleash Your Potential
The heart of astrophotography lies in your camera. Ideally, opt for a DSLR or mirrorless camera with manual control settings for aperture, shutter speed, and ISO. Why? This allows for optimal control over the light entering your lens, necessary for capturing stunning celestial images. If you’re just starting, don’t be deterred by not owning an ultra-high-end camera. Even entry-level DSLRs and mirrorless cameras can capture some jaw-dropping shots.
Celestial Photography Through a Telescope: Prime Focus Astrophotography
Did you know that you can attach your DSLR camera to a telescope? This technique is called prime focus astrophotography and it’s an effective way to capture detailed images of celestial bodies. The telescope acts as a powerful telephoto lens, zooming into striking star clusters or nebulous gas clouds. For beginners wanting to dive deeper into astrophotography, this could be your next step.
Minimizing Vibrations: The Power of Remote Shutter Release
Blurry stars and nebulae? No, thank you! To keep your long-exposure shots tack sharp, consider investing in a remote shutter release. This gadget minimizes vibrations caused by manually pressing the shutter button, thus reducing any chance of blurred images. Remember, in astrophotography, sharpness is key!
Pack for Success: Essential Personal Gear
Besides your camera and related equipment, don’t forget to pack other essentials for your night under the stars. A headlamp (preferably one with a red light setting to protect your night vision), warm clothes, snacks, and plenty of water are must-haves. Don’t let discomfort distract you from your stargazing melee.
Weather Conditions: The Art of Planning
Last, but certainly not least, is the weather! Always ensure a detailed forecast covers the full duration of your shoot. Remember, clouds are not your friends in astrophotography. Be patient and plan for the right weather conditions to capture your best images.
To conclude, stepping into astrophotography might feel daunting at first, but with the right gear and a touch of patience, you’ll soon be capturing images that are quite simply, out of this world!
FAQ’S
Understanding the vast field of astrophotography may seem like trying to navigate through a nebula, but don’t grab your spacesuit just yet. We’re here to guide your journey with our Frequently Asked Questions (FAQs) section. Whether you’re wrestling with the intricacies of an F5.6 lens setting, wondering about exposure times, or trying to differentiate between equipment essentials, we’ve got you covered. We’ve compiled and answered the most burning questions from beginner astrophotographers just like you. So, let’s turn confusion into clarity and have you capturing the cosmos like a pro in no time!
What are the basic tools needed for astrophotography?
For sparking wonders in astrophotography, the most fundamental tools that you’ll require are a camera and a tripod. A DSLR or a mirrorless camera with a variety of interchangeable lenses is ideal for darker environments due to their large sensors and wide ISO ranges.
The tripod plays an essential role in night sky photography, providing the necessary stability for long exposures. Look for a robust yet portable one, capable of supporting your camera and lens weight without shaking.
Furthermore, in advanced astrophotography, a telescope is often used for capturing even the faintest celestial bodies. For prime focus astrophotography, you can even attach your DSLR directly to the telescope, bypassing the need for a separate lens. Beginner telescopes like a refractor or a Dobsonian are great to start with.
Lastly, an often overlooked but crucial tool is the remote shutter release. This device minimizes vibrations induced by manually pressing the camera’s shutter button. Thus, it helps you capture sharper images with an increased clarity.
In addition to hardware, consider investing in some astrophotography software. This includes star-tracking apps to help you locate celestial bodies and photo editing applications to process and enhance your captures.
Remember, each piece of equipment in your astrophotography kit plays a pivotal role in capturing those exhilarating snapshots of the cosmos.
How can I start astrophotography as a beginner?
Starting your journey in astrophotography might feel overwhelming initially, but remember, every expert was once a beginner. All you need is some basic equipment, a sturdy tripod, a sense of adventure, and the boundless night sky.
Choose a camera that allows manual control over the settings. You need to adjust the aperture, ISO, and shutter speed in order to capture the stars effectively. A DSLR or mirrorless camera is a good start. Next up, invest in a sturdy and reliable tripod. Night sky shots require long exposure times and a shaky tripod might ruin your endeavor.
Teach yourself the basics about the night sky – a star chart or astronomy app can be a useful guide. Practice focusing in the dark – it might be tougher than expected. Remember to switch off your camera’s auto-focus and adjust the lens to infinity for the best results.
Begin with experimenting with simple star trails or moon shots before you delve into capturing the Milky Way or specific constellations. Star trail images, for instance, are formed by pointing your camera at Polaris (also known as the North Star) and leaving the shutter open for extended periods. This will leave you with captivating light trails as the stars move across the sky.
Patience is your greatest ally in astrophotography. It might take some time before you’re satisfied with your shots. Experiment with various settings and techniques, learn from your mistakes, and keep improving your skills.
Getting started in astrophotography can also be a great way to explore nature. As often the best conditions for shooting stars and galaxies are in rural, less-populated areas where there is minimal light pollution. So get ready to explore the wonders of the night sky and embark on an incredible astrophotography adventure. Happy stargazing!
What are some techniques for capturing the night sky?
Mastering the art of night sky photography has its own set of unique challenges and rewards. It requires a blend of technical prowess, artistic vision, and a generous serving of patience. Here are a few techniques that can help you get those awe-inspiring shots:
The Rule of 500:
This is a popular rule in astrophotography that helps prevent stars from appearing as streaks in your images, caused by the rotation of the Earth. Here’s how it works: Divide 500 by the focal length of your lens – the result is the longest exposure (in seconds) you can use before stars start to trail. For instance, if you are using a 25mm lens, then 500 divided by 25 gives you 20 seconds of exposure time.
Shoot during the ‘Blue Hour’:
Just after sunset, there’s a brief period where the sky turns a deep, rich blue. This is known as the blue hour and is considered a ‘golden’ time for all kinds of photography, including astrophotography. Shooting during this time not only gives you gorgeous sky color but also adds depth and dimension to your shots. Consider capturing stars during this time in a single exposure to highlight the night sky.
Try Star Trails:
For a change of pace, why not intentionally capture star movement? This is best achieved in dark locations with clear skies. Set your camera on a tripod, use a remote trigger to avoid any vibration, and opt for long exposures (from a few minutes to a few hours). The Earth’s rotation will create a mesmerizing pattern of circular star trails in your frame.
Post-Processing Matters:
I can’t stress enough how vital post-processing is in astrophotography. Learning how to use editing software such as Lightroom and Photoshop to bring out the best in your night sky shots can make a massive difference to your final image. Using them to reduce noise, brighten the stars, sharpen the image, and adjust the white balance can transform a good photo into an extraordinary one.
Remember, like any form of photography, astrophotography requires a lot of experimentation and practice. Keep trying out different techniques and settings until you find what works best for you and your camera. Happy shooting!
What kind of tripod should I use for celestial photography?
The tripod: it’s a crucial piece of equipment for the budding astrophotographer. When capturing the beauty of the stars and planets, your camera needs a stable platform to ensure crisp, clear images. This is where an excellent tripod comes in.
For astrophotography, not all tripods are created equal. The tripod you choose needs to be sturdy enough to hold your camera and telescope securely, negating any effects of wind, unstable ground conditions, or accidental nudges.
An ideal choice is a model with an adjustable head. This is important, as it allows you to orient your camera at various angles, aiding in tracking celestial objects across the night sky. Moreover, look for a model which incorporates a bubble level to ensure your setup is perfectly horizontal.
Another key characteristic is the load capacity of the tripod. Consider the weight of your telescope and camera together because for those extended exposure times, you’ll need a tripod sturdy enough to hold the weight without teetering.
One more tip: if your tripod has features like retractable spikes for additional grounding or quick-release mounts, that’s an added advantage. These features will give you extra stability and flexibility during your stargazing sessions.
You may need to invest in a tripod that is a bit more expensive to ensure that it has the durability and features necessary for astrophotography. However, this investment will be worth it once you see your first breathtaking images of the starry sky.
In conclusion, a well-chosen tripod is your steadfast partner in your astral explorations. It helps you capture the stunning beauty of the night sky with clarity and detail, making your astrophotography journey truly stellar.
What are the challenges in astrophotography and how to overcome them?
Astrophotography can be tremendously rewarding, but it also presents a unique set of challenges, even to experienced photographers. Let’s delve into some of these obstacles and tips to overcome them.
Light Pollution: One major stumbling block you may encounter is light pollution. This pesky problem is caused by artificial light sources like streetlights and billboards obscuring the night sky’s wonders. To navigate around this issue, try to find locations with low light pollution. There are online light pollution maps available to help you find the darkest places near you. Another approach is using a light pollution filter on your camera lens, which can reduce the effect of the undesired artificial light.
Weather and Atmospheric Conditions: Weather can be a bit of a wild card when it comes to astrophotography. Imperfect conditions like clouds, fog, or high humidity can hinder your starry sky captures. Therefore, it’s vital to stay updated with local weather forecasts and plan your photography outings judiciously. Also, consider that atmospheric conditions can change throughout the night, so sometimes patience can lead to phenomenal photo opportunities.
Capturing Clear Images: Getting clear, sharp images of celestial bodies is no simple task given their immense distance and the Earth’s movement. A sturdy and reliable tripod can make all the difference here by minimizing camera shakes. Also, techniques like stacking multiple exposures or using a tracker that compensates for Earth’s rotation can vastly improve image clarity.
Technical Settings and Camera Mastery: Astrophotography demands a sound understanding of camera settings and technical elements. From mastering manual focus to tweaking ISO levels, shutter speed, and aperture settings, these particulars significantly impact the quality of your shots. Therefore, in-depth knowledge and hands-on practice with your camera are key.
Post-Processing: Finally, it’s worth noting that beautiful astrophotographs are rarely out-of-camera shots. Most stunning celestial images require some degree of post-processing to bring out the details, colors, and highlights. Software like Adobe Lightroom or PixInsight can be beneficial tools in your astrophotography arsenal.
Undeniably, astrophotography can seem daunting at first. However, with patience, perseverance, and a solid understanding of these challenges and their solutions, you can considerably enhance your astrophotographic skills. Remember, every starlit night presents an opportunity to learn and improve!

